
While our Totara Academy team are busy creating our new platform for learning professionals, we wanted to find out more about what they’re up to. This time, Senior Visual Designer Matt Stokes explains how he creates animations for e-learning.
1. Gathering requirements
The first thing I do when I receive an animation script is discuss it with the scriptwriter. We talk about considerations like whether there are any complex concepts that need to come across, or if there are hero graphics from other learning materials that need to be showcased. Our animations generally have to work standing alone, but also sit with other activities – acting as part of a larger body of e-learning content.
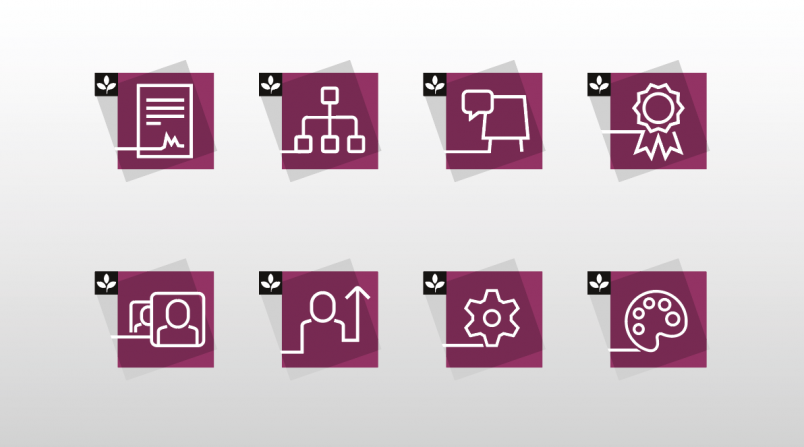
Sometimes we devise standard ways of displaying things – key diagrams for example – as part of the prep work for the animation. Assets like our course badges used in these animations are sourced from the other materials in our learning environment.

2. Creating a storyboard
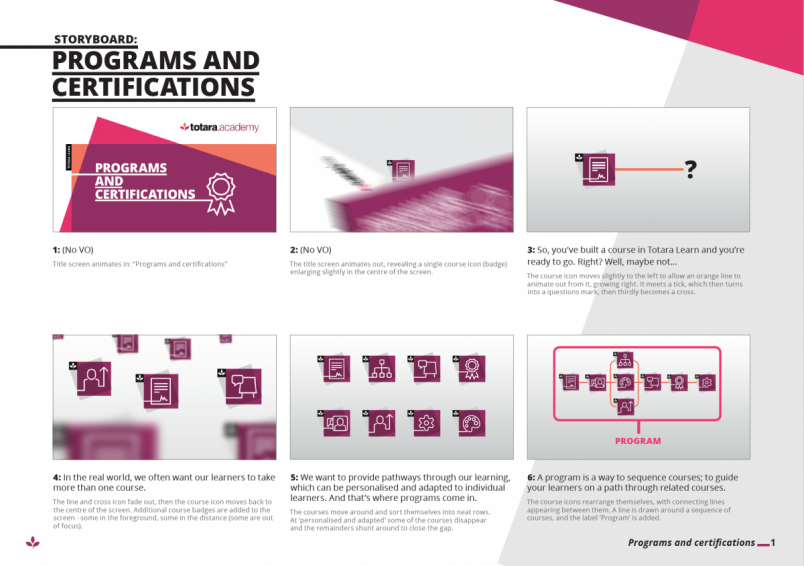
I create a storyboard for the entire animation, so as everyone can see what I’m proposing at a glance, and check that what is onscreen works with the voiceover. The storyboard also includes written descriptions of what happens onscreen. It answers questions like: how do things move? What appears first? How long do they stay onscreen? It’s useful to make these decisions before the animation has been created.
3. Drawing up illustrations
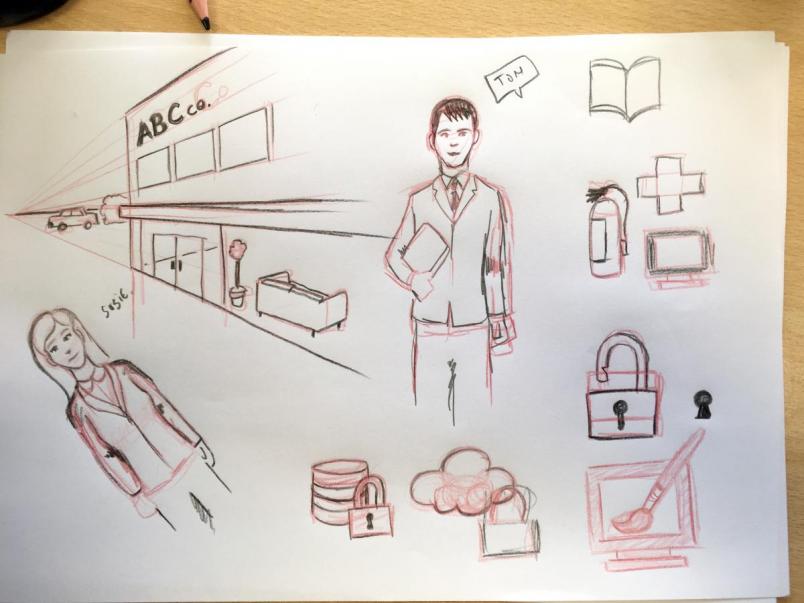
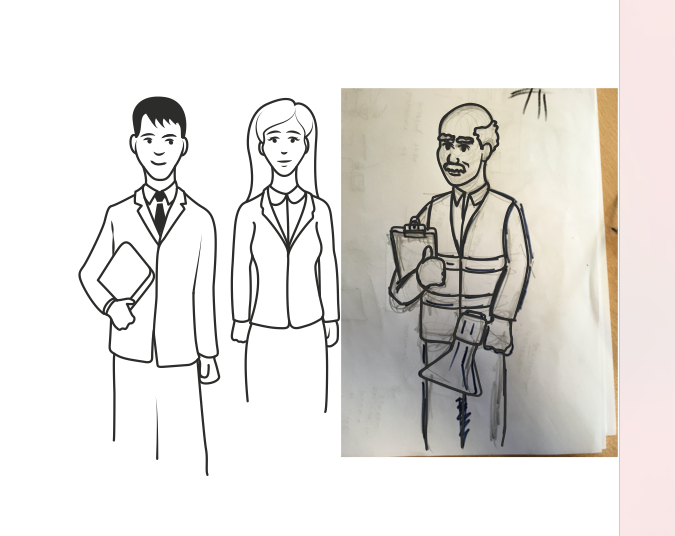
As part of the storyboard, I draw up any necessary illustrations or icons. We’ve got a visual style for our scenario scenes. These are fictional displays of situations in which Totara Learn features come into their own. We always depict them as illustrations instead of using stock photographs of models so there is no confusion – using illustrations clarifies that this is an example, not a case study. The pencil illustrations are scanned in and worked up in Adobe Illustrator.
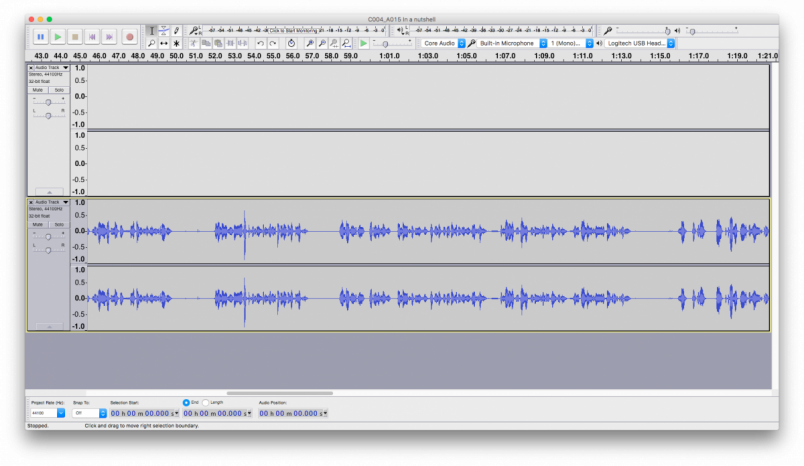
4. Recording voiceovers
We then record the voiceover. We do this in-house. There are a few of us who are reluctantly happy enough to do this. We have a microphone and use open source software to record and clean up the sound. If you watch any Totara Academy videos, you will hear the voices of the Totara team!
5. Bringing the sound and visuals together
Next I put everything together. I tackle each shot as a separate composition in After Effects, in case there is an unavoidable change of plan and some of the sentences of voiceover need to be replaced. It helps to be able to move the shots around to time the pauses between sentences, giving the viewer a second to take it all in, and allowing for more complicated transitions if necessary.
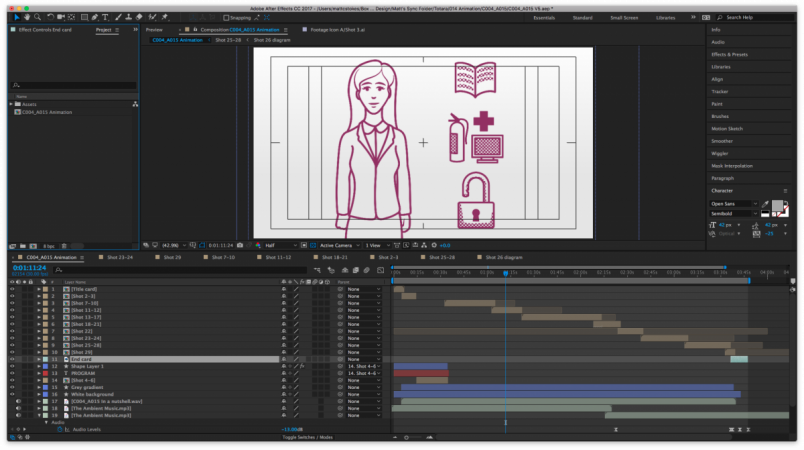
The title card gets animated first, with our signature coloured blocks overlapping to house the title. I follow the storyboard, using the assets and voiceover for each shot. I square off the animation by adding the end card that finishes all our Totara Academy video content, for consistency.
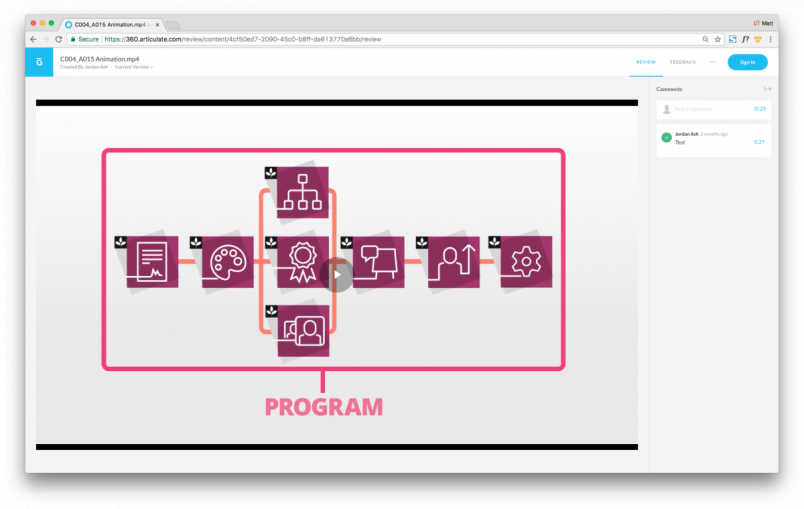
6. Internal review
We review the animation internally, using an online feedback tool to anchor the feedback to the point in time that it is referring to. No ambiguous comments like ‘the thing early on’ or ‘about halfway through’.
7. Finishing touches
I assess the feedback and make any necessary changes. The video is then ready to be uploaded to YouTube, to be referenced in our courses as an HTML block. We use tweaks in the HTML to make sure the video responds, and the player doesn’t show ‘suggested links’ at the end of the video. We don’t want to lose people to cat videos! Here’s an example of a finished animation you’ll find in the Totara Academy.
Want to see some of Matt’s animations in action? Sign up now for the Totara Academy and explore all of the free content on offer. We’re constantly updating the Academy with new courses, so make sure you check back regularly for the latest content.
